I am already into August, at this rate the migration will be done in less than 2 weeks, and that will be worth celebrating. But today I wanted to mention briefly how you might go about streaming audio files from your Ghost blog in a painless way. We will be using Cloudinary and HTML5 to put a nice-looking mp3 player on your page, with minimal coding. Are you ready?
Step 1: you need to think about the use-case here. Ghost will not allow you to upload audio directly to their servers. Art, yes; audio, no. So what do you do? Sign up for Cloudinary, that's what! It is free, and it allows you to upload and stream anything in the cloud. It is your go-to resource for hosting photos, short videos, and mp3 files.

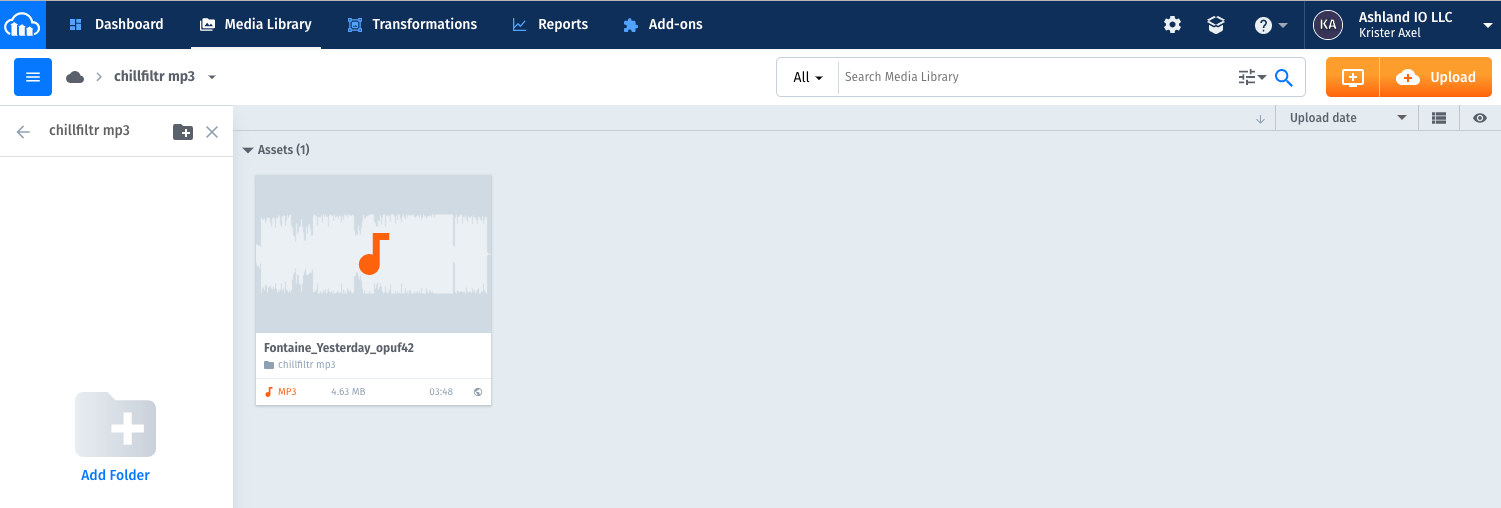
Open the account, make a folder for your mp3s, and upload your song.
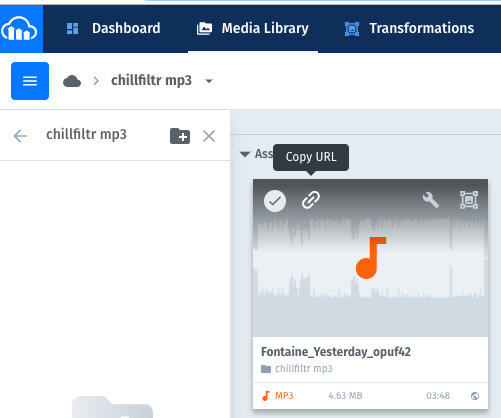
Step 2: get the link. After the file uploads, click the link icon on the file above the waveform. It will copy immediately to your clipboard.

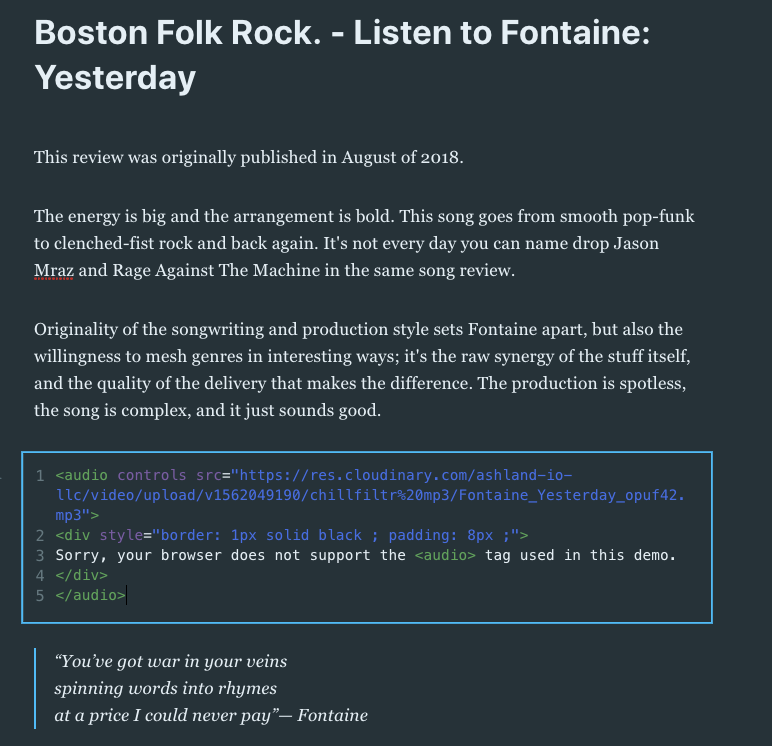
Step 3: The only coding you have to do. Open a text editor, take this code snippet, and replace the XXX with the link you copied in step 2. Pro tip: add the 'controlsList' tag to remove the download button.
<audio controls src="XXX">
<div style="border: 1px solid black ; padding: 8px ;" controlsList="nodownload"></div>
</audio>
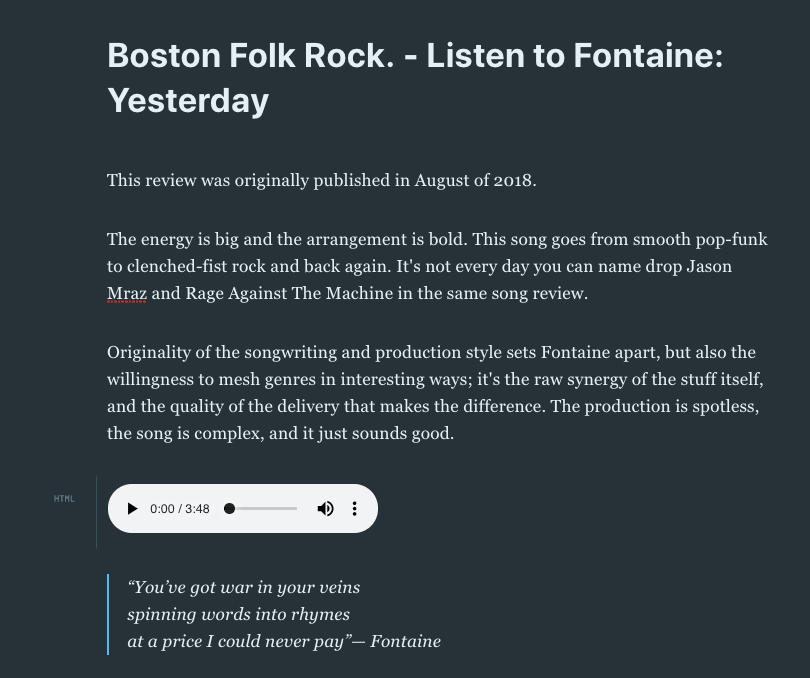
Step 4 (last one): paste the code with your updated link into an html block on your blog post, and voila! You are streaming mp3 files from your Ghost blog. You are welcome. The file cap for file uploads on Cloudinary is 100mb, so depending on your resolution, that means your longest mp3 will max out at about 2 hours, which is plenty long for my needs.


Don't forget to save your changes!